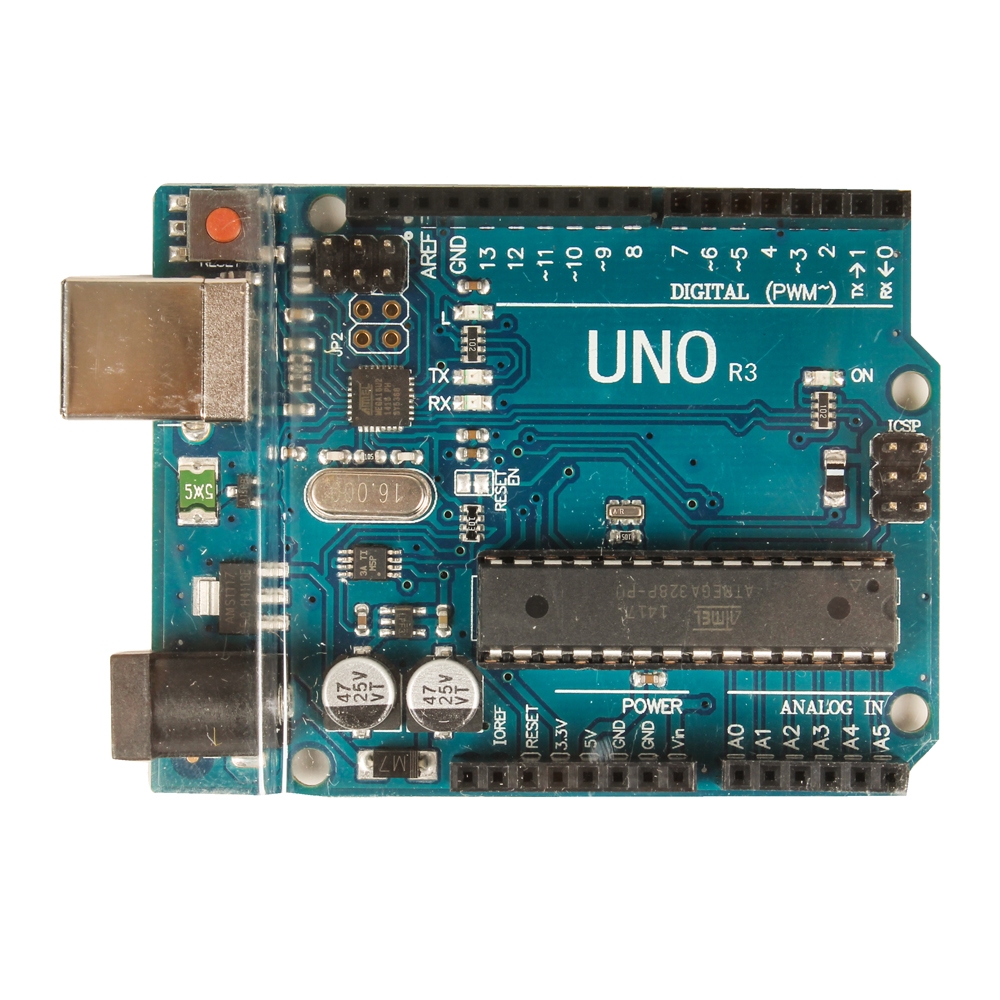
Programming an Arduino Uno via RPi


100 Points
Learning Objectives

Inland UNO R3Arduino UNO R3

A microcontroller runs one program that is loaded into ROM.
When the power is cycled the same program will run again.
The following instructions will show you how to create and upload 'sketches' or programs onto an Arduino UNO microcontroller.
Microcontrollers are becoming common-they control automobile engines and many other complex systems.
They automate tasks to save time. Examples.
They are going to provide substantial cost savings in automobiles, like Teslas, when used effectively.
In later assignments you will continue working with and experiencing the capabilities of the Arduino UNO.

After completing this assignment you will be able to:

  1. Obtain, modify or create a sketch
  2. Connect the Raspberry Pi to the Arduino UNO
  3. Upload the sketch to the UNO
  4. Test and debug the sketch
  5. Upload a screen shot to D2L.

Arduino PinoutArduino Pinout

Assignment Overview
This assignment reviews basic computer concepts that you will need in this course and throughout your career.
For this assignment, you will install the Arduino IDE to a Raspberry Pi.
Then you will learn to work with the Arduino IDE and upload sketches.
Later assignments will show you how to modify, create and debug these sketches.

You are expected to have a working knowledge of microcontroller hardware and software.
If you do not understand how to use an item, perform a Google Search, refer to the WSU Technology Knowledge Base,  ask a teaching assistant, or ask the instructor.


Exercise 1-Arduino UNO IDE

The 'sketches' or programs that run on an Arduino Uno can be created on many devices-a laptop or Raspberry Pi.
In this exercise you will install the Arduino UNO Integrated Development Environment (IDE) onto your Raspberry Pi.

  1. Make sure to connect the Raspberry Pi to the Arduino UNO using a USB A to B cable.
  2. Boot the Raspberry Pi, and ensure it has internet access.
  3. You may notice that after the Raspberry Pi boots, that an orange light on the Arduino UNO begins flashing.
    This is not a problem, the UNO is running a default sketch that was uploaded previously.
  4. Open a terminal window.
    Type in sudo apt-get update, press Enter.
    When that completes, type in sudo apt-get upgrade, press Enter, and update the Raspberry Pi.
  5. To install the Arduino IDE, in the terminal window type sudo apt-get install arduino, and press Enter.
    Type 'y' and press Enter when asked to continue with the install, which is about 130MB.
  6. -- WHEN DONE --, the Arduino IDE can be accessed from Menu>Programming

    Arduino UNO IDEArduino UNO IDE

  7. On the Raspberry Pi open the Arduino IDE
    It will display a blank sketch, with a name based on the current date.
  8. In the lower right corner you will see 'Arduino Uno on COM1'.
    From the menu choose Tools>Serial Port>/dev/ttyACM0
    If this does not show up, you may need to try again later when you compile and try to upload.
    This connects the Raspberry Pi to the Arduino UNO via the USB cable.
  9. From the menu choose File>Examples>01.Basics>Blink
    The code that appears is well commented.
    Read the comments and the code.
    The program creates a variable to manipulate an LED, then enters an infinite loop that turns the LED on for 1 second, and off for 1 second, ad infinitum.
  10. To verify the code syntax is correct, from the menu choose Sketch>Verify / Compile.
    In the status window at the bottom you should see a 'Done compiling' message.
    If not, time to trouble-shoot.

    compiled sketch Sketch Compiled Properly


Exercise 2-Upload a Sketch

Once a sketch is verified and compiled, the next step is to transfer (upload) it to the Arduino UNO.
A microcontroller is designed to run one sketch at a time, and is simple to use.
Pi or Arduino?

  1. From the Arduino IDE choose File>Upload
    After a few seconds the status bar will display the message 'Done uploading.'
    The orange light will be blinking-on 1 second, off 1 second, until power is removed, or another sketch is uploaded.
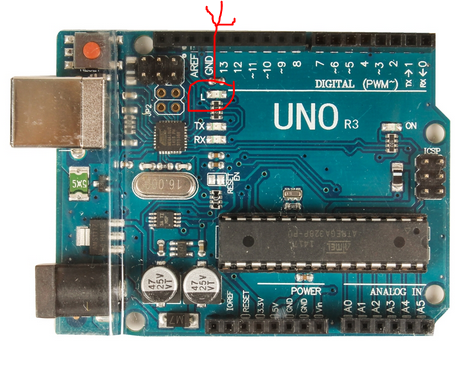
    Blinking Light Blinking Light


    Note: the green light at the right side of the UNO indicates power is applied to the board.

Exercise 3-Test and Debug

You will next modify the sketch and save it with a new name.
Then you will upload the sketch and make sure it works.

  1. In the Arduino IDE, Blink sketch, choose File>Save As... name it Blink01, saving it in the \pi\sketchbook\ folder as suggested.
  2. Note that the sketch name, Blink01, appears in the Arduino IDE title bar.
  3. Modify the sketch.
    Copy the four lines of code that turn the LED on and off.
    Paste those four lines below where they currently end, being careful not to delete the brace '}' character.
    Modify the On/Off timings, noting that 1000 represents 1000 milliseconds or 1 second.
    Update the comments to reflect the timings that you chose.
    Review and then 'Verify' your code by pressing the check in the left end of the toolbar.
    Your sketch will look something like this:

    Modified Blinking Light ProgramModified Blinking Light Program

  4. When you are satisfied that your sketch works, choose File>Upload to compile and upload the new sketch to the UNO.
    Note that if you get an error message, you may need to choose Tools >Serial Port>/dev/tty/ACM0
    Or you may need to do some troubleshooting.

Exercise 4-Screen Shots
  1. On the Raspberry Pi make sure the Arduino IDE and your name on the desktop are visible.
  2. In the terminal window type in scrot -s then click and drag the mouse to select an area from the top left showing the VNC icon and title bar, also include your name on the desktop and the Arduino IDE.
  3. Open File Manager, navigate to the /home/pi directory and rename the screen shot IOTA01.png
  4. Your screen shot will look something like this:
    screen shot formatScreen Shot Format


Upload Screenshot

For this final Exercise, and to complete this assignment please read all of these instructions.
You are submitting a screen shot of your work to the appropriate D2L Assignment folder.


(90) 1. On the Raspberry Pi, use the Chromium browser to login to D2L.
Upload your screenshot to the 'IOTA01' D2L Assignment Folder.

Screen Shot IOTA01


Submit Assignment

When all tasks are completed press the Submit button.


(10) 2. Assignment submission


-- WHEN DONE --
SHUTDOWN THE RASPBERRY PI
TURN OFF THE POWER
REMOVE YOUR FLASH DRIVE